
- October 17, 2026
- 7 min read
WordPress Caching Explained: Browser, Page, Object, and Server Caching

- October 17, 2026
- 7 min read
Table of Contents
If you have ever spent time optimizing a WordPress website for speed, you have likely encountered the concept of caching. When people talk about WordPress caching, they are usually referring to a collection of techniques designed to make your site load faster by serving saved copies of your content rather than generating every page from scratch on the fly.
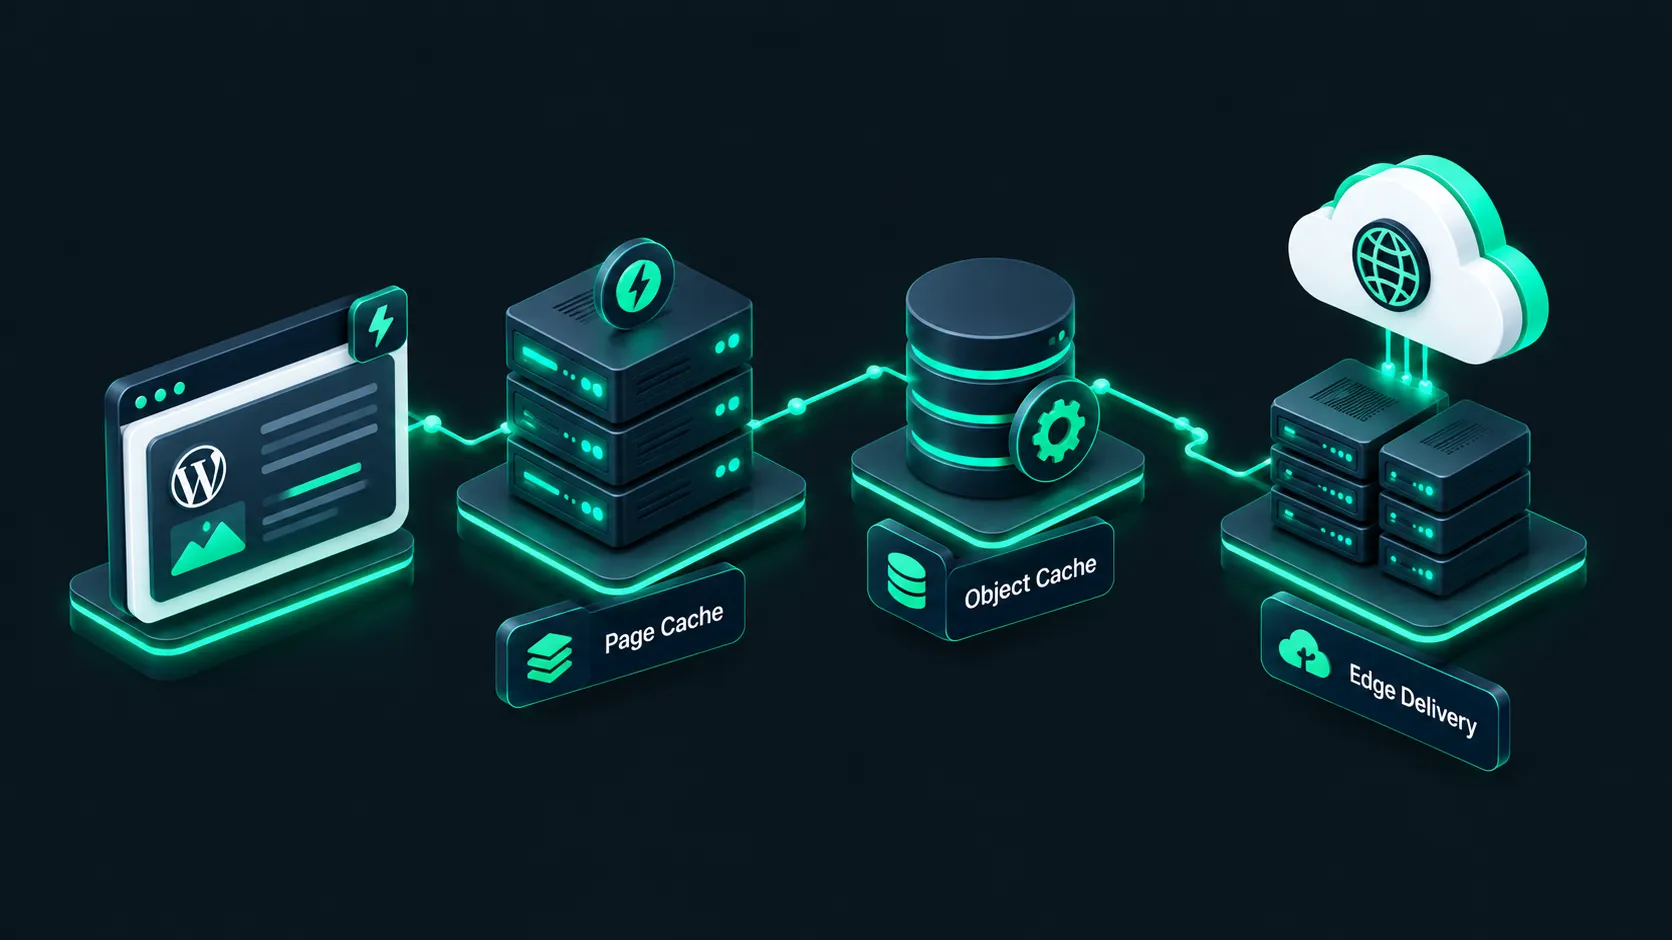
For beginners and intermediate site administrators, understanding how caching works can feel overwhelming. Different layers handle different parts of your website, and using the wrong combination of tools can lead to broken layouts, outdated content, or server errors. In this guide, we will break down the main caching layers—browser, page, object, and server caching—and explore how each one impacts your website performance.
Table of Contents
- What is WordPress Caching and Why Does It Matter?
- 1. Browser Caching: Storing Assets Locally
- 2. Page Caching: The Ultimate Speed Booster
- 3. Object Caching: Streamlining Database Queries
- 4. Server Caching: CDN and Edge Delivery
- Cache Invalidation Basics: Keeping Content Fresh
- Handling Dynamic Content and Logged-In Users
- Avoiding Overlapping Caching Plugins
- Safe Testing Workflow After Changing Cache Settings
- Conclusion
What is WordPress Caching and Why Does It Matter?
To understand WordPress caching, you first need to understand how standard WordPress requests work. When a visitor lands on your site, their browser sends a request to your web server. Your server runs PHP scripts, queries the MySQL database to fetch your text, comments, and settings, assembles your theme files, and finally generates an HTML page to send back to the user.
This entire process happens in milliseconds, but when multiple visitors arrive simultaneously, your server has to repeat this heavy lifting for every single request. Database queries pile up, CPU usage spikes, and your page load times crawl.
Caching solves this problem by taking a snapshot or stored copy of the generated data and serving it directly when requested, bypassing the PHP and database processing steps. Implementing effective website caching dramatically reduces Time to First Byte (TTFB) and improves user experience.
1. Browser Caching: Storing Assets Locally
Browser caching (or HTTP caching) occurs on the visitor’s local device rather than on your web server. When someone visits your WordPress site for the first time, their web browser downloads static assets such as images, stylesheets (CSS), and JavaScript files.
Through browser caching headers (like Cache-Control or Expires), your server tells the visitor’s browser: “Store a copy of this logo image and stylesheet on your hard drive for the next year.”
- How it improves performance: On subsequent page views, or when visiting other pages on your site, the browser does not need to re-download your static files. They load instantly from the local cache.
- Typical Use Case: Ideal for static design elements, corporate logos, fonts, and CSS files that rarely change.
2. Page Caching: The Ultimate Speed Booster
Page caching is the most common form of page cache management in WordPress. As discussed, a dynamic WordPress page requires PHP execution and database lookups.
A page caching mechanism intercepts the generated HTML file the very first time a visitor requests it and saves that static HTML file in a folder on your server. When the next visitor requests the exact same URL, the web server serves the pre-built HTML file instantly without touching PHP or MySQL.
- How it improves performance: It drops server response times dramatically, often cutting TTFB by 50% to 80%.
- Typical Use Case: Essential for public-facing blog posts, landing pages, archive pages, and static pages where content remains identical for all regular visitors.
3. Object Caching: Streamlining Database Queries
While page caching saves entire HTML pages, object caching stores the results of database queries in memory (RAM). WordPress relies heavily on database queries to fetch options, user data, and custom post meta.
Without an object cache, WordPress might run dozens of repetitive database queries to generate a single admin screen or complex archive page. Persistent object caching tools like Redis or Memcached store these database objects in lightning-fast RAM memory.
- How it improves performance: It lightens the load on your MySQL database and speeds up dynamic generation for logged-in users, WooCommerce stores, and membership sites.
- Typical Use Case: High-traffic sites, e-commerce stores, and community forums where page caching cannot be used freely due to dynamic shopping carts and user accounts. For more details on overall performance tuning, check out our [Internal Link: WordPress Performance Guide].
4. Server Caching: CDN and Edge Delivery
Server-level caching encompasses technologies handled directly at the web server software level (such as Nginx FastCGI cache or Apache mod_cache) or via a Content Delivery Network (CDN) at the edge.
A CDN caches your static assets and web pages across a global network of proxy servers. When a user in London visits your site hosted in Chicago, the CDN serves the cached content from a server located just miles away from them.
- How it improves performance: Drastically reduces network latency and global load times by bringing your website content closer to your international audience.
- Typical Use Case: Sites with a global audience, media-heavy blogs, and enterprise websites needing high availability and DDoS mitigation.
Cache Invalidation Basics: Keeping Content Fresh
One of the biggest challenges with caching is ensuring that your visitors see updated content when you make changes. If you publish a new blog post or edit a pricing table, stale cached versions can cause confusion.
Cache invalidation (or cache purging) is the process of automatically deleting or refreshing stored cache files when content is updated. Reliable caching solutions handle this intelligently:
- When you update a post, the system clears the cache for that specific URL and related archive pages.
- Global elements like navigation menus or footers trigger a broader site-wide cache refresh.
- Time-to-Live (TTL) settings automatically expire cached files after a specified duration (e.g., 24 hours).
Handling Dynamic Content and Logged-In Users
Not all content on a WordPress site should be cached uniformly. Certain sections rely on real-time data:
- WooCommerce Cart and Checkout: Caching the checkout page can cause users to see other customers’ shopping carts or order details.
- Logged-in Users: Admin bars, personalized greeting messages, and membership dashboards require dynamic rendering.
To prevent these issues, caching plugins and server configurations use exclusion rules, cookie detection, and fragment caching (AJAX-based loading for dynamic sections) to serve cached content safely without compromising user experience.
Avoiding Overlapping Caching Plugins
A common mistake among beginners is installing multiple caching plugins (such as WP Rocket, W3 Total Cache, and SG Optimizer all at once) in hopes of making the site “even faster.”
Warning: Running multiple overlapping page caching plugins will cause severe conflicts. They write competing rules into your server configuration files (like .htaccess or nginx.conf), break your site layout, and cause infinite redirect loops.
Always verify your hosting environment first. Many managed WordPress hosts (like SiteGround, Kinsta, or WP Engine) include built-in server-level caching. In these cases, you often only need a lightweight optimization plugin or your host’s native plugin rather than heavy third-party caching suites. For further reading on plugin management, consult the [External Link: WordPress Support Documentation].
Safe Testing Workflow After Changing Cache Settings
Modifying cache settings or clearing server rules can sometimes leave residual code in your browser or server proxy. Follow this safe testing workflow whenever you tweak your caching configuration:
- Make a single change at a time: Never alter page cache, object cache, and CDN settings simultaneously.
- Purge all site caches: Clear your plugin cache, host server cache, and CDN cache manually.
- Test in an Incognito/Private window: This ensures your local browser cache is not masking broken elements or displaying old CSS.
- Inspect headers: Use your browser’s Developer Tools (Network tab) to check HTTP response headers and confirm whether assets are returning
X-Cache: HITorCF-Cache-Status: HIT. - Test core functionality: Log in as a subscriber or test an e-commerce checkout flow to verify dynamic features remain fully operational.
Conclusion
Mastering WordPress caching is one of the single most effective ways to accelerate your website, lower server resource consumption, and keep visitors engaged. By understanding how browser, page, object, and server caching work together, you can design a robust performance strategy tailored to your specific hosting environment.
Start by checking what caching features your current web host provides, implement page and browser caching cautiously, and always test your layout changes in a private browsing window. With the right configuration, your WordPress site will run faster and scale smoothly as your audience grows.
Related Blogs

- November 12, 2026
- 10 min read
- November 11, 2026
- 12 min read
- November 10, 2026
- 6 min read