
Developing your own website from scratch can feel daunting, but building a custom WordPress theme is the ultimate way to take complete control over your site’s design, functionality, and performance. Unlike pre-built commercial themes that often come bloated with unnecessary features, a tailor-made theme ensures that your site loads quickly and functions exactly how you want it to. In this comprehensive guide, we will walk you through the essential steps of theme development, helping you transition from a WordPress user to a creator.
While the official directory offers thousands of free options, choosing to build a custom WordPress theme provides several distinct advantages. For example, commercial themes are designed to appeal to the widest possible audience, which means they often include heavy page builders, redundant scripts, and massive CSS files that degrade page speed.
When you build a theme from scratch, you write clean, semantic code tailored specifically to your project requirements. Therefore, your site remains fast, highly secure, and easy to maintain over time. Additionally, this process teaches you the inner workings of WordPress, making it an invaluable skill for any developer or agency.
Before diving into the code, you need a few essential tools and foundational skills. Ensuring you have these ready will make the development process smooth and efficient:
Every WordPress theme resides in its own subdirectory within the wp-content/themes/ directory. To keep your code organized, it is important to establish a clean and logical folder structure right from the start. Although a minimalist theme can run with just two files, a professional-grade theme typically includes organized folders for assets and templates.
| Directory / File Name | Type | Description |
|---|---|---|
style.css | File | Contains the theme metadata and primary stylesheet rules. Required. |
index.php | File | The main template file that acts as a fallback for all pages. Required. |
functions.php | File | Used to enqueue styles, register menus, and add custom features. |
/assets/ | Folder | Houses theme subfolders like /css/, /js/, and /images/. |
/template-parts/ | Folder | Contains reusable design partials (e.g., card styles, custom loops). |
One of the most powerful core features of WordPress is its Template Hierarchy. When a user requests a specific page on your website, WordPress searches through your theme files in a pre-determined order to find the most specific template file available. If it cannot find a specialized template, it automatically falls back to the generic index.php template.
For example, if a visitor views a single blog post, WordPress will look for files in the following order:
single-{post-type}-{slug}.php (e.g., single-post-my-first-post.php)single-{post-type}.php (e.g., single-post.php)single.phpsingular.phpindex.phpMeanwhile, static pages follow a similar pattern, searching first for custom page templates, then page-{slug}.php, page.php, and finally index.php. Understanding this hierarchical logic is essential because it allows you to easily target and customize specific sections of your site without modifying other page types.
Now that you understand the fundamental concepts, let us build the core files. Navigate to your local WordPress installation directory, head to wp-content/themes/, and create a new folder named my-first-theme.
The style.css file serves a double purpose: it provides WordPress with critical metadata about your theme, and it serves as your primary stylesheet. Create a file named style.css in your root theme folder and paste the following header comments:
/*
Theme Name: My First Custom Theme
Theme URI: https://wpeducated.com/
Author: WP Educated
Author URI: https://wpeducated.com/
Description: A high-performance, modern custom WordPress theme built from scratch.
Version: 1.0.0
License: GNU General Public License v2 or later
License URI: http://www.gnu.org/licenses/gpl-2.0.html
Text Domain: my-first-theme
*/

/* Basic Reset & Styles */
body {
    font-family: -apple-system, BlinkMacSystemFont, "Segoe UI", Roboto, Oxygen, Ubuntu, Cantarell, sans-serif;
    color: #0F1720;
    line-height: 1.6;
    margin: 0;
    padding: 0;
    background-color: #FFFFFF;
}
To prevent code duplication, WordPress uses modular template files. The header and footer blocks are separated into dedicated templates and dynamically pulled into other pages. Create a file named header.php and add the following HTML and PHP:
<!DOCTYPE html>
<html <?php language_attributes(); ?>>
<head>
    <meta charset="<?php bloginfo( 'charset' ); ?>">
    <meta name="viewport" content="width=device-width, initial-scale=1.0">
    <?php wp_head(); ?>
</head>
<body <?php body_class(); ?>>
    <header class="site-header">
        <div class="container">
            <h1 class="site-title"><a href="<?php echo esc_url( home_url( '/' ) ); ?>"><?php bloginfo( 'name' ); ?></a></h1>
            <p class="site-tagline"><?php bloginfo( 'description' ); ?></p>
        </div>
    </header>
Next, create a companion file named footer.php to properly close your HTML tags and load footer scripts:
<footer class="site-footer">
<div class="container">
<p>© <?php echo date('Y'); ?> <?php bloginfo('name'); ?>. All Rights Reserved.</p>
</div>
</footer>
<?php wp_footer(); ?>
</body>
</html>
Crucial Security and Functionality Tip: Always include
wp_head()immediately before the closing</head>tag andwp_footer()right before the closing</body>tag. These hooks allow plugins and WordPress core to load essential scripts and tracking tags smoothly.
With our modular header and footer in place, we can combine them inside index.php and implement the standard WordPress Loop. The Loop is the default mechanism WordPress uses to output your blog posts dynamically. Create index.php and add the following markup:
<?php get_header(); ?>

<div class="container main-content">
    <main id="primary" class="site-main">
        <?php if ( have_posts() ) : ?>
            <?php while ( have_posts() ) : the_post(); ?>
                <article id="post-<?php the_ID(); ?>" <?php post_class(); ?>>
                    <h2 class="post-title"><a href="<?php the_permalink(); ?>"><?php the_title(); ?></a></h2>
                    <div class="post-meta">
                        <span class="post-date">Posted on <?php the_date(); ?></span>
                    </div>
                    <div class="post-excerpt">
                        <?php the_excerpt(); ?>
                    </div>
                </article>
            <?php endwhile; ?>
        <?php else : ?>
            <p>Sorry, no posts matched your criteria.</p>
        <?php endif; ?>
    </main>
</div>

<?php get_footer(); ?>
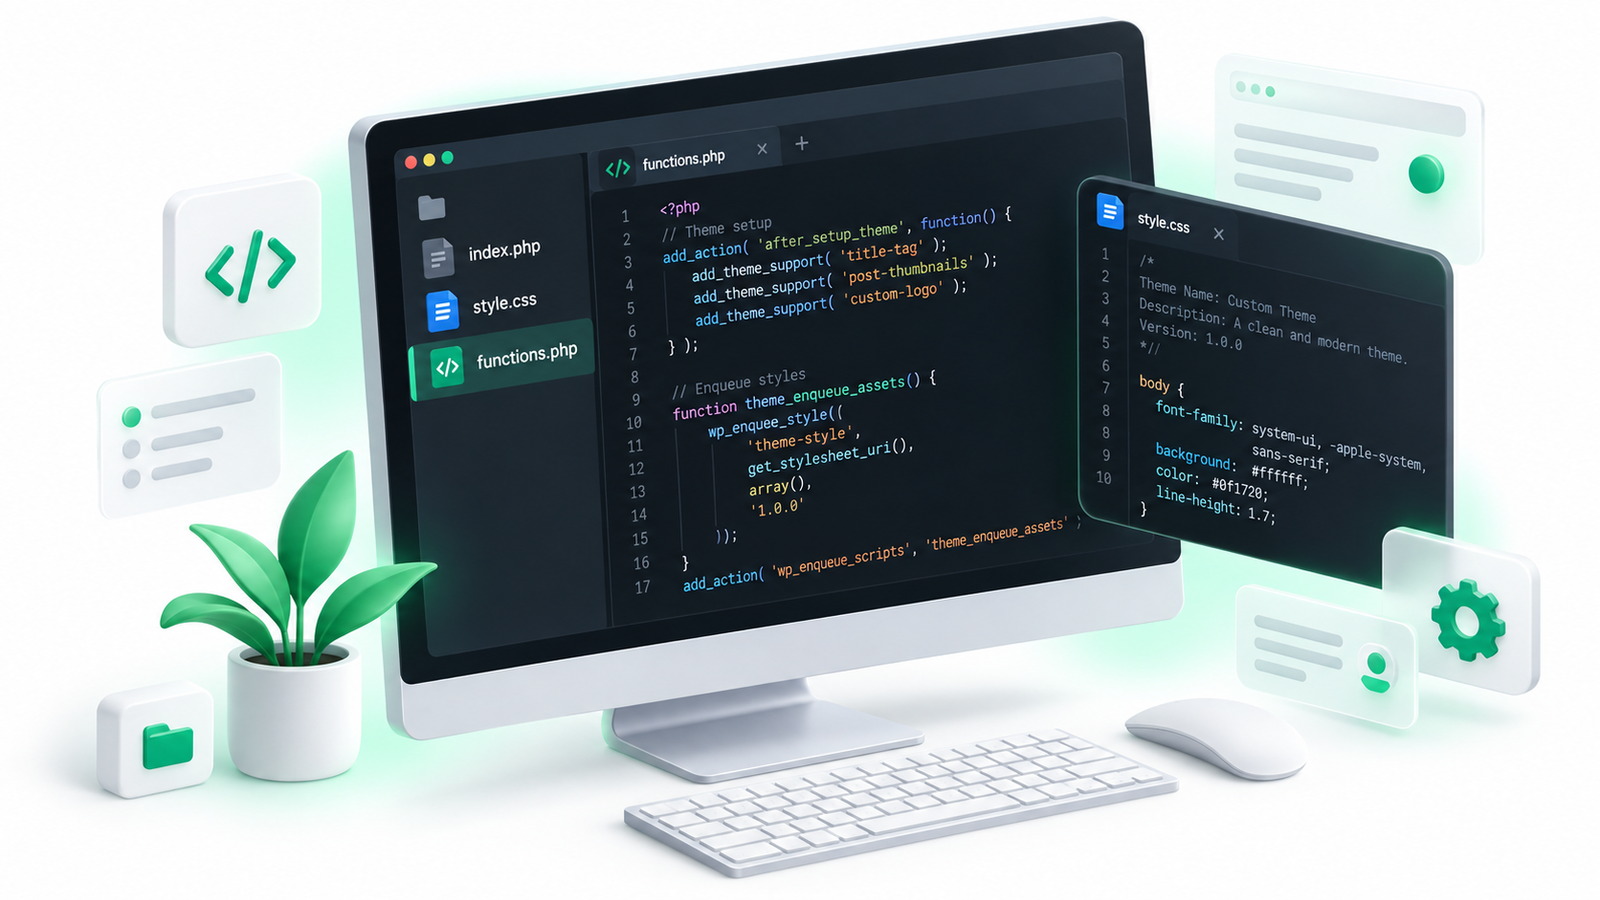
To ensure optimal loading sequences and avoid conflicts, scripts and styles should never be hardcoded into header.php. Instead, WordPress uses a centralized mechanism called enqueuing. Create a file named functions.php to orchestrate your custom assets:
<?php
function my_custom_theme_scripts() {
    // Enqueue primary style.css
    wp_enqueue_style( 'theme-main-style', get_stylesheet_uri(), array(), '1.0.0' );

    // Enqueue optional custom javascript
    // wp_enqueue_script( 'theme-custom-js', get_template_directory_uri() . '/assets/js/main.js', array(), '1.0.0', true );
}
add_action( 'wp_enqueue_scripts', 'my_custom_theme_scripts' );

function my_custom_theme_setup() {
    // Add dynamic document title support
    add_theme_support( 'title-tag' );

    // Enable post thumbnails (Featured Images)
    add_theme_support( 'post-thumbnails' );
}
add_action( 'after_setup_theme', 'my_custom_theme_setup' );
By leveraging hooks like wp_enqueue_scripts and after_setup_theme, you guarantee compatibility with third-party plugins and keep your theme scalable.
Once you are satisfied with your custom code, it is time to deploy it onto a production environment. To do this, compress your theme’s folder into a standard .zip archive (e.g., my-first-theme.zip). Navigate to your live WordPress dashboard, go to Appearance > Themes > Add New > Upload Theme, upload the ZIP file, and click Activate.
However, before pushing any code updates to a live production site, you should run comprehensive quality checks. Utilizing tools like the Theme Check Plugin helps confirm that your theme conforms to official security and coding standards. Additionally, we highly recommend verifying browser compatibility and mobile responsiveness to ensure a perfect user experience across all devices.
Creating your very first custom WordPress theme unlocks endless design possibilities and structural control over your projects. By understanding the core folder structure, masterfully navigating the template hierarchy, and writing tidy asset configurations inside functions.php, you can create lightning-fast, secure, and beautiful websites. Start customizing, keep experimenting, and happy coding!