Starting a new website can feel like an overwhelming task, but installing WordPress doesn’t have to be. As the world’s most popular Content Management System (CMS), powering over 43% of all websites, WordPress has been designed to be highly accessible and easy to set up.
Whether you are using a premium managed host, a standard shared hosting provider with cPanel, or setting up a local testing environment on your computer, this comprehensive guide will walk you through every step. By the end of this tutorial, you will have a fully functioning WordPress site ready for your custom content.
Depending on your hosting provider and technical comfort level, you have several ways to install WordPress. We have organized this guide from the easiest method to the most advanced:
Managed WordPress hosting providers (such as WP Engine, Kinsta, Flywheel, or premium tiers of SiteGround and Bluehost) handle the technical heavy lifting for you. In most cases, WordPress is pre-installed when you purchase your plan, or it can be set up with a single click.
yourdomain.com/wp-admin) to access your dashboard.Most traditional shared hosting providers (such as Hostinger, HostGator, and GreenGeeks) use cPanel as their control panel. Inside cPanel, you will find script installers like Softaculous, QuickInstall, or Installatron that automate the installation process.
https:// if you have an SSL certificate installed) and choose the domain where you want to install WordPress. Leave the “In Directory” field empty if you want your site installed on the main domain (e.g., example.com instead of example.com/wp).If your host does not offer an autoinstaller, or if you prefer absolute control over your database configuration and file structure, you can install WordPress manually using File Transfer Protocol (FTP).
Go to the official WordPress.org download page and download the latest version of the WordPress software zip archive to your local computer. Unzip the file; you will see a folder named wordpress containing all the installation files.
To upload the files, you need an FTP client such as FileZilla or Cyberduck. Connect to your hosting server using your FTP credentials (provided by your hosting company).
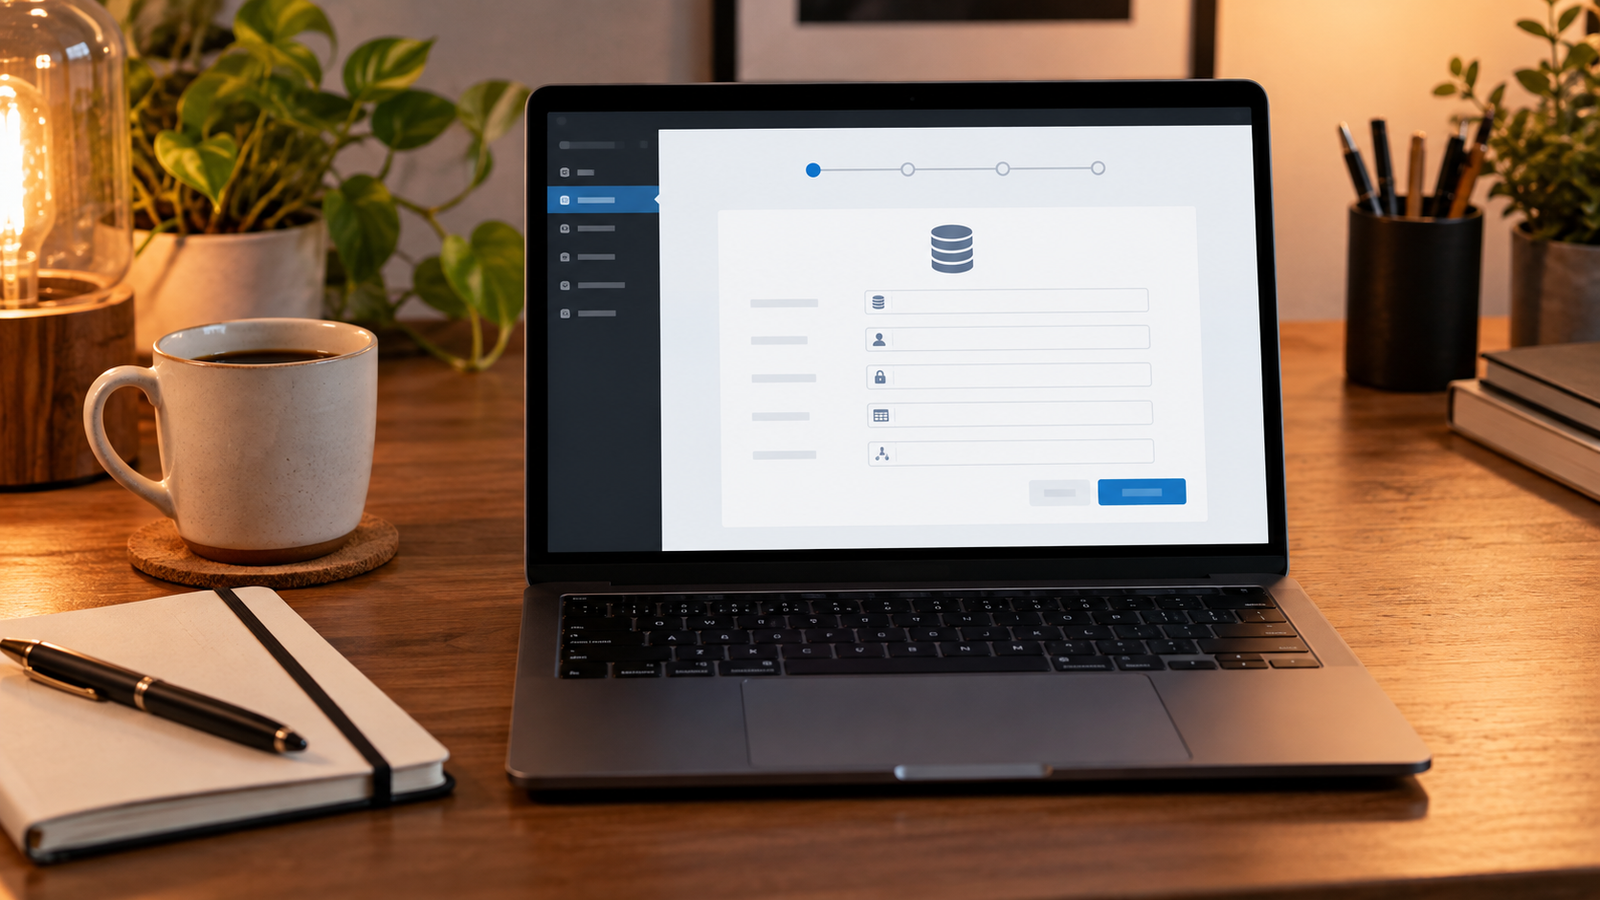
public_html or www).wordpress folder directly to this server directory.WordPress requires a MySQL database to store your posts, comments, settings, and user accounts. Here is how to create one via cPanel:
Open a new web browser tab and navigate to your website’s URL (e.g., https://yourdomain.com). You will be greeted by the WordPress setup wizard.
localhost (check with your host if this fails)wp_ to something unique, like wp_secure_ or my_site_.
If you want to design, develop, or test a WordPress website locally on your computer before uploading it to a live hosting server, installing it on a localhost environment is your best choice.
The modern industry standard for local WordPress development is Local (formerly known as Local by Flywheel). It is free, incredibly fast, and works on Windows, macOS, and Linux.
Even with automated installers, things can occasionally go wrong. Here are the most common errors encountered during setup and how to resolve them:
This error means your WordPress files cannot communicate with your database. This is almost always caused by incorrect credentials.
wp-config.php file (accessible via FTP or File Manager). Ensure that the DB_NAME, DB_USER, DB_PASSWORD, and DB_HOST perfectly match what you created in your control panel database configuration.A highly generic error pointing to a server-side problem, most frequently caused by a corrupt .htaccess file or memory limits.
.htaccess file to .htaccess_old. If this fixes the issue, navigate to your WordPress admin panel under Settings > Permalinks and click \”Save Changes\” to regenerate a clean .htaccess file.If you get a completely blank white screen instead of your website or login page, it is usually due to a PHP error or compatibility conflict.
wp-content/plugins or wp-content/themes to deactivate it.Once you have successfully logged into your new WordPress dashboard, you should perform a few key maintenance steps before starting your site buildout.
| Setting / Task | Why It Matters | Where to Find It |
|---|---|---|
| Update Permalinks | Changes URL structure from messy query parameters to SEO-friendly post names. | Settings > Permalinks (Select \”Post name\”) |
| Delete Default Content | Removes the default \”Hello World\” post and \”Sample Page\” to clean your site index. | Posts > All Posts / Pages > All Pages |
| Verify Search Engine Visibility | Ensures search engine spiders can crawl and index your live website. | Settings > Reading (Ensure \”Discourage search engines…\” is unchecked) |
| Configure Timezone & Language | Aligns scheduler, scheduled posts, and backups with your local timezone. | Settings > General |
| Set Up an SSL Certificate | Encrypts connection between browser and server, serving your site over secure HTTPS. | Your Hosting Panel (Enable Let’s Encrypt SSL) |
WordPress.org is the self-hosted software version that you install on your own hosting account (which this guide covers), offering total freedom and customizability. WordPress.com is a hosted, subscription-based blogging platform managed entirely by Automattic, offering less customization unless you pay for higher tiers.
Not at all. With modern hosting autoinstallers or managed WordPress plans, you can install the complete software suite with one click without seeing or editing a single line of code.
Yes. You can migrate your WordPress files and database to another hosting provider at any point using popular migration plugins like All-in-One WP Migration, Duplicator, or host-provided migration tools.
The WordPress software itself is 100% free and open-source. However, to host a public website, you will need to purchase a domain name (usually $10-$15/year) and a hosting plan (typically starting at $3-$10/month).