
Launching a new WordPress website is an exciting milestone. However, the default, out-of-the-box WordPress configuration is far from perfect. It contains placeholder content, generic options, and potential security vulnerabilities that require immediate attention.
Before you publish your first post, install a heavy page builder, or start driving traffic to your new site, you must build a secure and optimized foundation. This comprehensive, step-by-step WordPress checklist will guide you through securing, optimizing, and organizing your fresh WordPress installation for long-term speed, security, and search engine success.
By default, WordPress comes preloaded with dummy content to demonstrate how a post or page looks. Leaving these elements active on a live site can harm your SEO, as search engines may crawl and index them.
Proper website setup begins in your WordPress settings panel. These fundamental adjustments dictate how your site communicates with search engines and displays content to human visitors.
Navigate to Settings > General to update your core site properties:
http:// or https://) and format (with or without www).Go to Settings > Reading to manage how your homepage displays content:
The default WordPress URL structure is often unoptimized for search engines and confusing for users (e.g., https://yourdomain.com/?p=123). Fixing this is a foundational step in proper WordPress configuration.
Go to Settings > Permalinks and change your structure to Post name (https://yourdomain.com/sample-post/). This structure is clean, easy to read, and allows you to include your primary focus keywords directly in the URL slug, boosting your search engine rankings.
“A descriptive, clean permalink structure is one of the easiest, most basic ways to improve user experience and establish on-page SEO best practices from day one.”
WordPress powers over 43% of all websites globally, making it a primary target for hackers, bots, and automated brute-force attacks. Securing your database and user accounts immediately is vital.
An SSL certificate encrypts the data moving between your server and your users’ web browsers. Most modern hosting providers offer a free Let’s Encrypt SSL certificate. Make sure your site loads exclusively over https://. You can use plugins like Really Simple SSL if your site experiences mixed-content errors after activation.
If your auto-installer created a user named “admin”, replace it immediately. Automated bots constantly try to guess passwords for the username “admin”. To resolve this:
By default, WordPress allows users to attempt to log in infinitely. Install a lightweight security utility such as Limit Login Attempts Reloaded or a complete suite like Wordfence to automatically block IP addresses that show brute-force behavior.
While you should avoid cluttering your WordPress database with excessive or poorly coded plugins, a few select tools are required for every professional website to manage security, search performance, speed, and emergency backups.
| Plugin Category | Top Recommendations | Primary Benefit |
|---|---|---|
| Search Engine Optimization | Rank Math, Yoast SEO, or SEOPress | Configures automated XML sitemaps, structures schema metadata, and optimizes on-page keywords. |
| Website Security | Wordfence Security or Sucuri Security | Establishes a web application firewall (WAF), monitors file changes, and scans for malware. |
| Caching & Optimization | WP Rocket, LiteSpeed Cache, or WP-Optimize | Minifies CSS/JS files, enables browser caching, and dramatically reduces page loading speeds. |
| Automated Backups | UpdraftPlus or Duplicator | Schedules complete database and file backups, exporting them automatically to secure cloud storage. |
| Contact & Lead Gen Forms | WPForms, Fluent Forms, or Formidable Forms | Provides drag-and-drop forms that capture user inquiries securely without writing HTML. |
Your WordPress theme controls the design, layout, typography, and speed of your website. Avoid overly complex, bloated themes that come packaged with dozen of unused features, as they drag down page load speeds.
Look for highly customizable, lightweight themes that score well on Core Web Vitals, such as:
After installing and activating your preferred theme, clean up your server space by going to Appearance > Themes and deleting any unused default WordPress themes (like Twenty-Twenty, Twenty-Twenty-One, etc.). Keep only one default theme as a system fallback.
If you plan to allow comment sections on your blog, you must put measures in place to block comment spam. Left unchecked, automated spam bots will flood your site with low-quality, malicious links, harming your search rankings.
Go to Settings > Discussion and configure the following rules:
No matter how secure your host is, unexpected events occur. An incompatible plugin update, a server crash, or a human error could erase your site’s content. Setting up automated offsite backups is your ultimate insurance policy.
Using a tool like UpdraftPlus, set up a weekly or daily backup routine depending on your publishing volume. Crucial tip: Never store your backups on your local web host’s server. Always select a remote cloud storage option, such as Google Drive, Dropbox, or Amazon S3, so your backups remain intact even if your main hosting account is compromised.
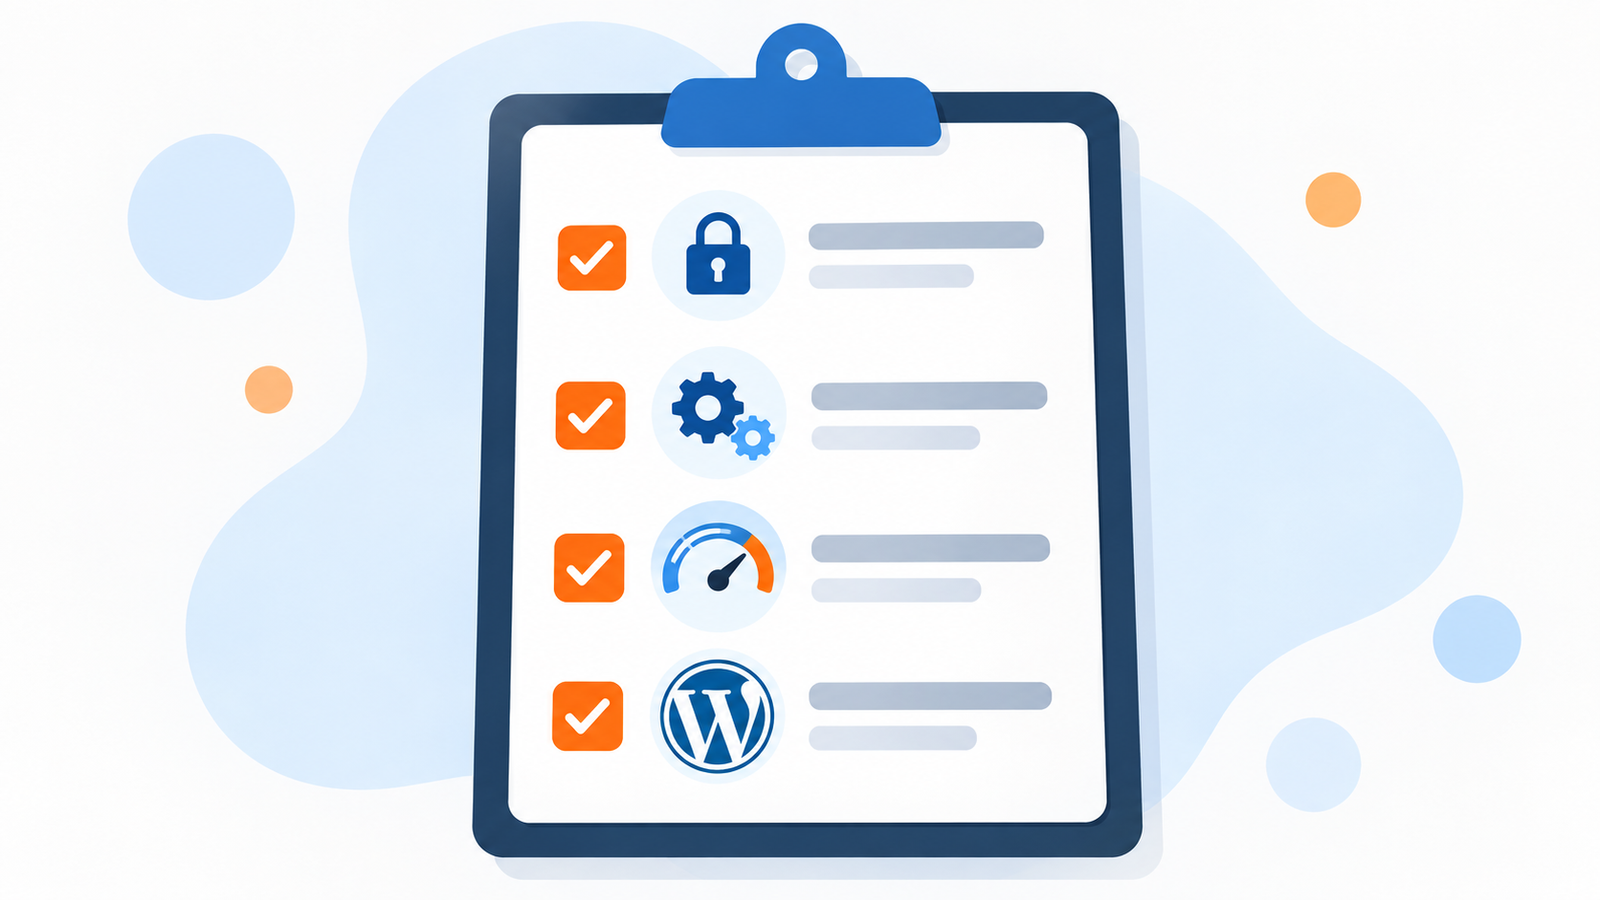
Use the checklist below as a quick-reference guide during your website setups to ensure no critical configuration steps are missed:
| Priority | Task Name | Dashboard Navigation Route | Target Objective |
|---|---|---|---|
| Critical | Enable SSL & HTTPS | Hosting Panel / Settings > General | Encrypt data transfers & establish trust. |
| Critical | Adjust Permalink Structure | Settings > Permalinks | Set user-friendly and SEO-friendly “Post name” URLs. |
| Critical | Change Default Admin Account | Users > Add New User | Eliminate brute-force security vulnerabilities. |
| High | Delete Dummy Post/Page/Plugins | Posts / Pages / Plugins | Clean up server clutter and prevent indexing of demo pages. |
| High | Configure General Settings | Settings > General | Define accurate brand name, tagline, and timezone. |
| High | Install Security & SEO Plugins | Plugins > Add New | Protect and optimize your database for search engines. |
| High | Configure Offsite Backups | Plugins > UpdraftPlus | Automate routine disaster recovery points to the cloud. |
| Medium | Set Comment Moderation Rules | Settings > Discussion | Block automated link spam from publishing live. |
Completing this WordPress checklist takes less than an hour, but it establishes a secure, fast, and highly crawlable foundation that pays dividends for years to come. Rather than fighting database cleanup issues, spam comment floods, or sluggish load times down the road, you can confidently focus your efforts on creating valuable content and growing your digital presence.Also, check out our WordPress Setup Checklist to Avoid Common Mistakes.