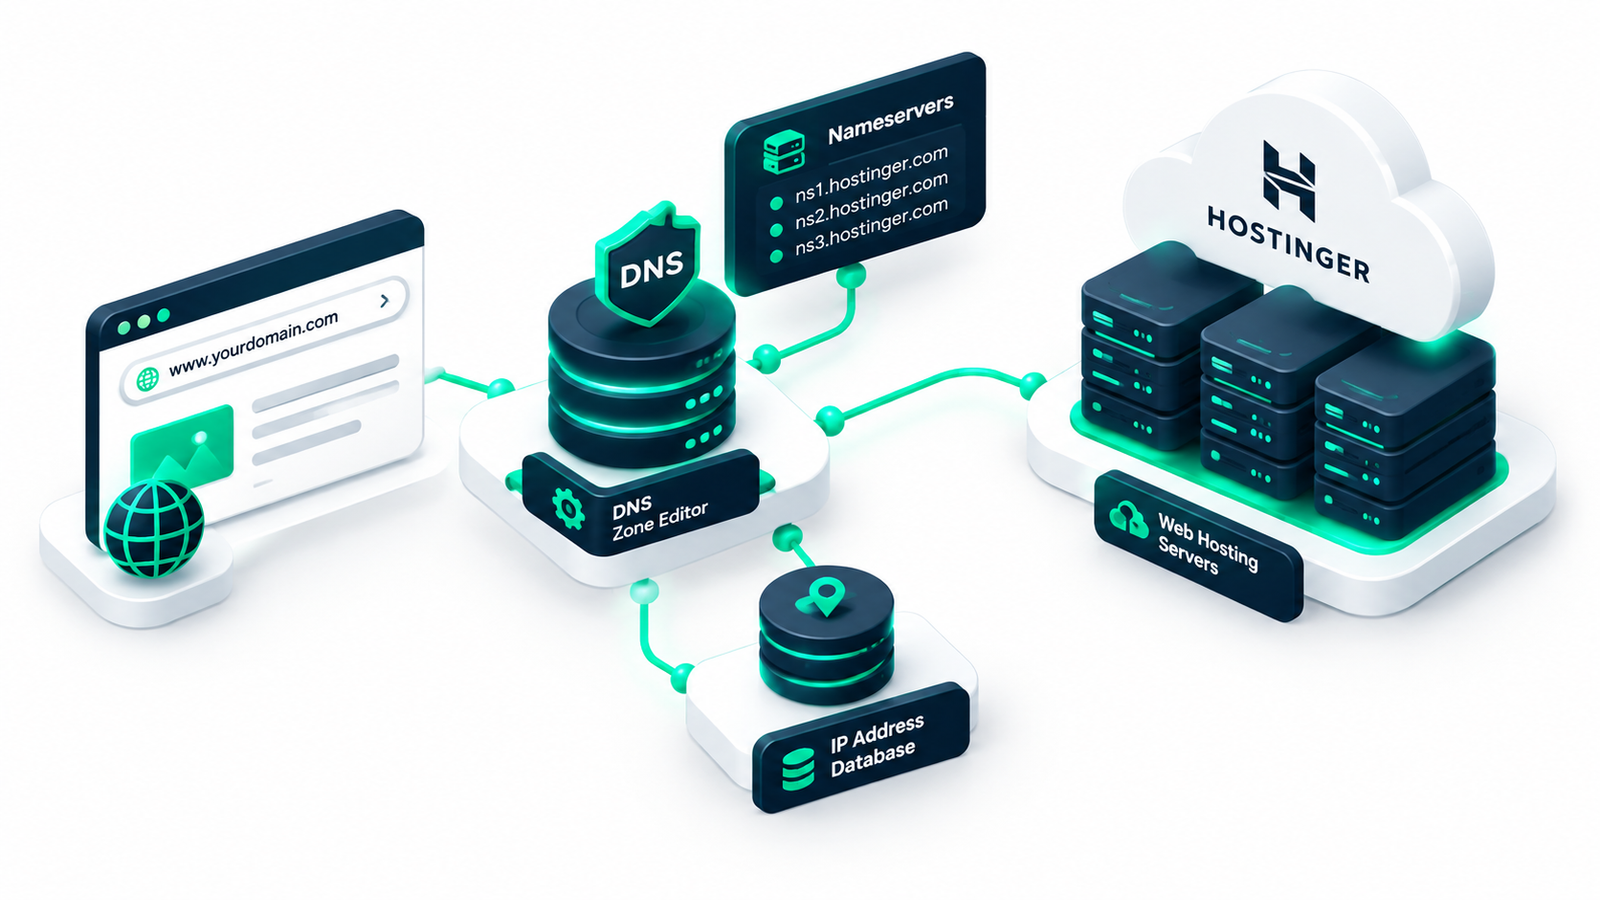

If you have purchased a web domain from an external registrar like Namecheap, GoDaddy, or Google Domains/Squarespace and want to host your WordPress website on Hostinger, you will need to point domain to Hostinger so visitors can reach your site. Connecting an external domain to a new host is one of the most vital steps when launching or migrating a WordPress website.
Fortunately, Hostinger’s proprietary hPanel makes this process straightforward. In this comprehensive step-by-step tutorial, you will learn the exact steps required to point your domain to Hostinger using both nameserver updates and A record configurations, preserve critical email settings, and troubleshoot common DNS propagation and SSL certificate issues.
Before modifying any settings at your domain registrar, it is essential to understand where your domain’s DNS zone will be managed. When connecting an existing domain to Hostinger, you have two primary options: changing your domain’s nameservers or updating your domain’s A record.
| Feature / Comparison | Method 1: Hostinger Nameservers | Method 2: A Record Pointing |
|---|---|---|
| DNS Zone Management | Managed inside Hostinger hPanel | Managed at external registrar / Cloudflare |
| Setup Complexity | Very easy (change 2 nameserver entries) | Moderate (requires adding/editing A records) |
| Email Routing Impact | DNS zone moves to Hostinger; email records must be manually re-added | Email records remain untouched at current provider |
| Best Used For | New sites or total migration to Hostinger hosting and email | Sites keeping third-party email (e.g., Google Workspace, Microsoft 365) |
Therefore, if you want Hostinger to handle all web traffic, subdomains, and DNS settings automatically, changing your nameservers is usually the best approach. However, if you already rely on external email providers like Google Workspace or Microsoft 365 and do not want to risk disrupting business email flow, pointing your A record while leaving nameservers at your registrar is often the safer alternative.
Regardless of which method you choose, your first step is to log into Hostinger and gather your hosting server’s specific IP address and assigned nameservers.
Here you will see two critical pieces of information required to point domain to Hostinger:
ns1.dns-parking.com and ns2.dns-parking.com (or custom nameservers assigned to your account such as ns1.hostinger.com and ns2.hostinger.com).185.185.185.185) listed under Website IP or Server Details.Note: Always verify your actual nameservers inside your own hPanel account rather than copying static examples, as Hostinger assigns specific nameserver clusters based on your hosting location and server setup.
Changing your domain’s nameservers transfers full authority over your domain’s DNS settings to Hostinger. This allows Hostinger’s automatic tools to generate proper DNS records for subdomains, SSL certificates, and web hosting without manual record updates.
ns1.dns-parking.com (or your assigned Hostinger NS1)ns2.dns-parking.com (or your assigned Hostinger NS2)Additionally, if you are using WordPress site management tools or migrating an existing site, changing nameservers makes adding addon domains and installing Hostinger Auto-SSL seamless.
If you prefer to keep your DNS zone managed at your current registrar or Cloudflare—particularly to maintain active email routing without interruption—you can point domain to Hostinger using an A record instead.
@ (which represents your primary domain root).3600 seconds (or Automatic / Default).www:www, point its value to the same Hostinger Server IP address.www, point its target value to your root domain (e.g., yourdomain.com).One common mistake webmasters make when attempting to point domain to Hostinger is losing access to active email accounts hosted externally.
If you choose Method 1 (Nameservers), your old registrar’s DNS zone becomes inactive, and Hostinger’s DNS Zone Editor takes over. Consequently, active email services (such as Google Workspace, Titan Email, or Microsoft 365) will stop receiving mail unless you re-create your email records inside hPanel.
Before changing nameservers, copy your existing DNS records from your registrar and re-enter them inside Hostinger hPanel under Advanced > DNS Zone Editor:
ASPMX.L.GOOGLE.COM).v=spf1 include:_spf.google.com ~all).Meanwhile, if you choose Method 2 (A Record), your MX, SPF, and DKIM records remain untouched at your domain registrar, ensuring uninterrupted email operations during the website DNS switch.
Once you complete the update, DNS changes do not happen instantly worldwide. Global DNS caching servers update incrementally in a process known as DNS propagation, which generally takes anywhere from 15 minutes to 24 hours.
You can verify whether your domain correctly points to Hostinger using online propagation tracking tools:
A or NS to check global propagation across global nodes.nslookup yourdomain.com in Terminal or Windows Command Prompt to check your local network resolution.Even after correctly configuring Hostinger DNS settings, you might encounter minor roadblocks. Here is how to troubleshoot the most common issues:
This typically occurs if the domain name has not been formally added inside Hostinger hPanel. Ensure that under Websites > Add Website, you have added the exact domain name matching your external registrar setup.
Hostinger provides free Unlimited SSL certificates via Let’s Encrypt. However, Hostinger cannot issue an SSL certificate until DNS propagation reaches their servers.
If DNS tools show the correct Hostinger IP address but your computer still opens the old hosting site, clear your browser cache or run the local DNS flush command:
On Windows Command Prompt:
ipconfig /flushdnsOn macOS Terminal:
sudo dscacheutil -flushcache; sudo killall -HUP mDNSResponderWhile A record updates can take effect within 15 to 60 minutes, changing nameservers across global TLD registries usually takes between 2 to 24 hours to fully propagate worldwide.
If you migrate your WordPress database and website files to Hostinger before updating your DNS settings or nameservers, your site visitors will experience zero downtime during propagation.
Yes. In addition to pointing your DNS, Hostinger allows complete domain transfers under Domains > Transfer Domain in hPanel using an EPP transfer code provided by your registrar.
By following these clear steps, you can confidently point domain to Hostinger, ensure seamless DNS routing, protect your essential email records, and launch your WordPress site with optimal speed and security.