
For many website administrators, managing a WordPress site involves clicking through the admin dashboard. However, there is a faster, more efficient way to control your site without ever opening a web browser. If you want to manage your site faster, learning how to use WP-CLI is a game-changer. This powerful WordPress command line interface allows developers, sysadmins, and site owners to complete complex tasks in seconds instead of minutes.
Whether you need to update dozens of plugins, perform a database find-and-replace, or create a brand new WordPress installation from scratch, this tool makes the process incredibly straightforward. In this ultimate beginner’s guide, we will break down everything you need to know about WP-CLI, from installation and essential commands to scripting and administrative best practices.
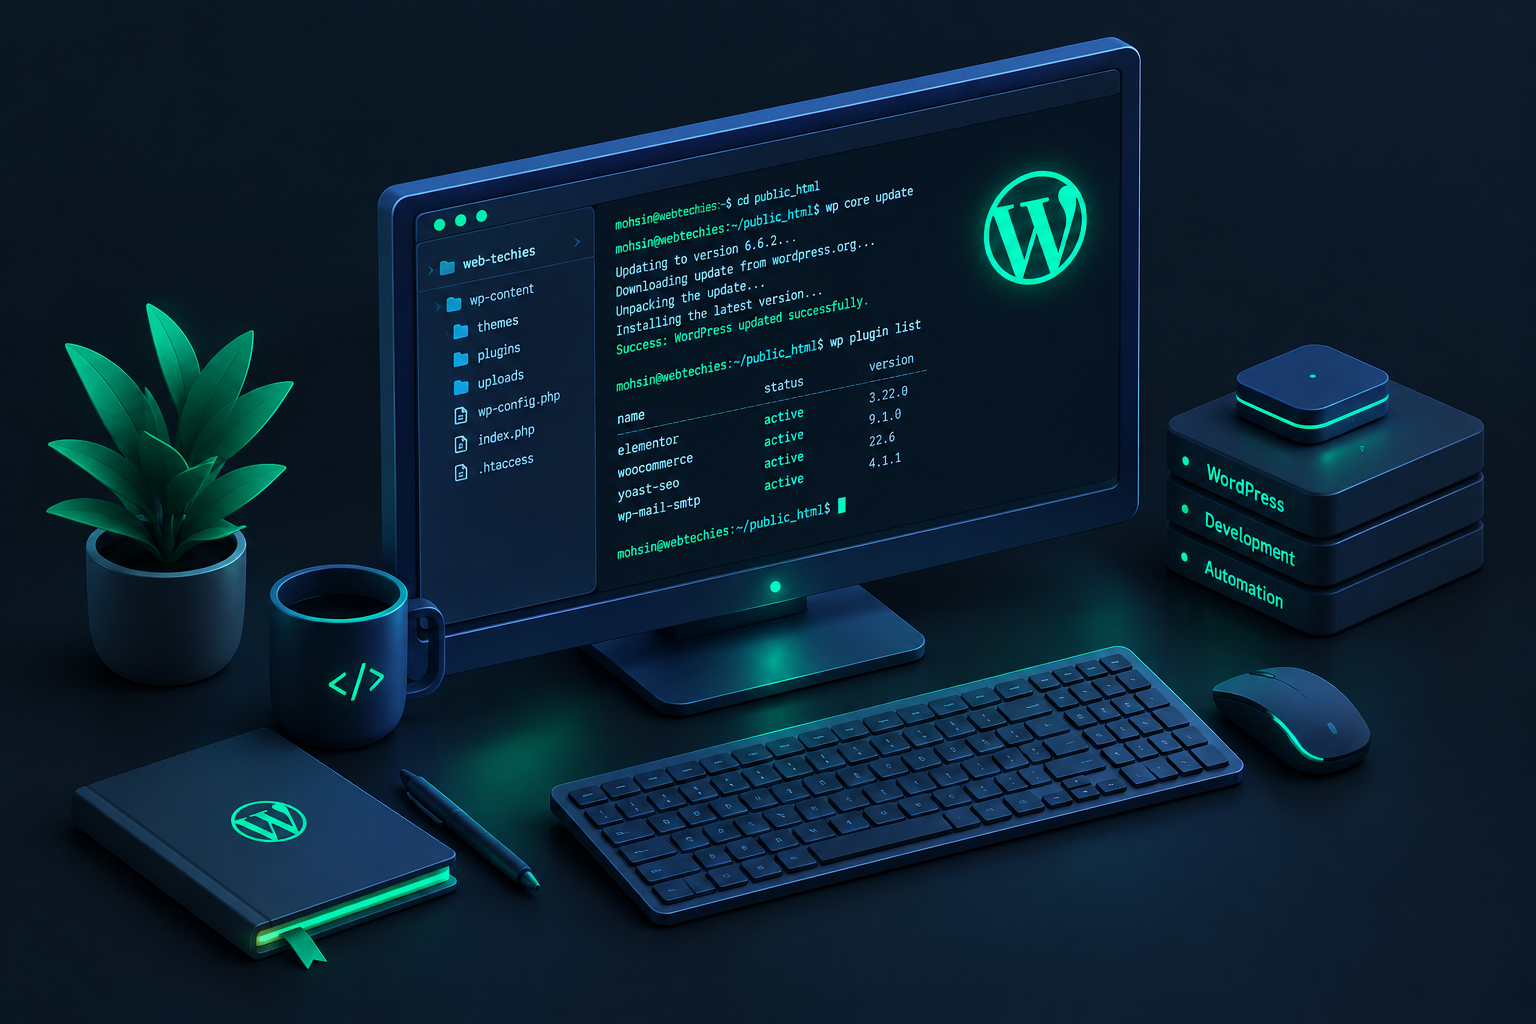
At its core, WP-CLI stands for WordPress Command Line Interface. It is a set of command-line tools that allows you to interact directly with your WordPress installation using text commands. Instead of relying on a graphical user interface (GUI) and waiting for pages to load in your browser, you speak directly to your database and file system through your server’s terminal.
Additionally, using the terminal offers several major advantages over the traditional dashboard:
WP-CLI is more than just an alternative way to run WordPress; it is an essential toolkit that transforms how you build, manage, and scale sites.
Before you can run command-line actions, you must make sure your hosting environment supports SSH (Secure Shell) access. Most managed WordPress hosts, Virtual Private Servers (VPS), and dedicated servers include SSH access. Once logged into your server via SSH, follow these steps to install the executable Phar file.
First, use curl or wget to download the latest Phar (PHP Archive) file of the command-line tool. Execute the following command in your terminal:
curl -O https://raw.githubusercontent.com/wp-cli/builds/gh-pages/phar/wp-cli.pharTo ensure that the archive download was successful and is fully compatible with your current PHP version, run the file directly with PHP:
php wp-cli.phar --infoIf you see a printed summary of your OS, shell environment, and PHP configuration, your archive is intact and ready to use.
To run the utility without typing php wp-cli.phar every time, you need to change its file permissions and move it to a folder in your system path. Execute these two commands:
chmod +x wp-cli.phar
sudo mv wp-cli.phar /usr/local/bin/wp
By moving the file to /usr/local/bin/wp, you can now run any command simply by typing wp followed by the specific parameters.
Finally, test the global shortcut by checking the version from any directory:
wp --versionIf the command returns your current version (e.g., WP-CLI 2.8.1), your installation is complete.
Once you are set up, you can perform almost any administrative task using dedicated commands. Below is a structured summary of the most useful and common commands that every beginner should learn:
| Category | Command Example | Description |
|---|---|---|
| Core Installation | wp core download | Downloads the latest WordPress core files to your current directory. |
| Core Configuration | wp core config --dbname=mydb --dbuser=myuser --dbpass=mypass | Generates a clean wp-config.php file with database credentials. |
| Plugins | wp plugin install contact-form-7 --activate | Installs and activates a plugin directly from the repository. |
| Themes | wp theme list | Displays a list of installed themes and their active status. |
| Database | wp db export backup.sql | Backs up the entire database into a single SQL file instantly. |
| Search & Replace | wp search-replace 'http://old.com' 'https://new.com' | Updates all URLs in the database (perfect for migration). |
| Users | wp user create admin2 admin@example.com --role=administrator | Creates a new administrative user without browser access. |
For example, if you want to update all of your installed plugins at once to keep your website secure, you do not need to navigate through pages of settings. Simply run the following command in your site’s root directory:
wp plugin update --allMeanwhile, if you are migrating your website to a secure HTTPS protocol, doing a manual find-and-replace on your SQL file can corrupt serialized PHP arrays. Using the search-replace utility safely unpacks, replaces, and repackages database entries:
wp search-replace 'http://yourdomain.com' 'https://yourdomain.com' --dry-runUsing the --dry-run flag first is highly recommended, as it lets you preview changes before committing them permanently to your production database.
One of the main benefits of using terminal commands is the ability to easily automate recurring maintenance. If you manage multiple sites, writing a custom shell script can save hours of repetitive labor.
For instance, you can write a short bash script to handle weekly updates and database optimizations automatically. Create a file named wp-maintenance.sh and add the following script:
#!/bin/bash
# Navigate to the WordPress root folder
cd /var/www/html

# Export database backup first
wp db export weekly-backup.sql

# Update core, plugins, and themes
wp core update
wp plugin update --all
wp theme update --all

# Clean up transient database entries
wp transient delete --all
echo "Maintenance completed successfully!"
After saving the script, make it executable by running chmod +x wp-maintenance.sh. To automate this task, you can schedule it using Cron. Open your system cron configuration using crontab -e and add a cron job that runs every Sunday at midnight:
0 0 * * 0 /path/to/wp-maintenance.sh > /dev/null 2>&1This automated flow guarantees that your site database is securely backed up and all code dependencies are updated on a consistent schedule without requiring manual intervention.
Because the command-line interface communicates directly with your system’s core database and directory files, mistakes can happen quickly. To avoid accidental data loss or downtime, follow these essential safety guidelines:
To protect your file permissions and server security, never run terminal commands as the system’s root user. Always run commands as the user who owns the WordPress files (e.g., www-data or your specific SSH user account). If you must run a command and encounter blockages, avoid using the --allow-root parameter unless you have no alternative and understand the exact risks.
Before executing massive search-and-replace queries or upgrading major core versions on your live production site, run the exact processes on a staging clone first. This precaution helps identify theme conflicts or broken custom code before real users are affected.
Even if you are confident in your instructions, always execute a rapid backup first. Running wp db export takes less than five seconds and ensures you have a recovery point if a theme update fails or a database modification has unexpected results.
When running complex operations, verify configuration variables using resource sites. Visit the Official WordPress Developer Resources for a complete list of command parameters, syntax guidelines, and advanced configurations.
Taking your first steps with WP-CLI might feel intimidating if you are not used to terminal commands, but the benefits are undeniable. By learning how to install this environment, mastering common commands, and automating basic maintenance scripts, you will dramatically increase your productivity and handle management tasks like an experienced professional.
Start small by using it to review your plugin status or run core updates, and soon you will find yourself managing all your sites directly from the terminal line. For more detailed tutorials, check out our companion guides on [Internal Link: managing server permissions] and optimizing databases to keep your staging and production sites running smoothly.