WordPress is the world’s most popular Content Management System (CMS), powering over 43% of all websites on the internet. To keep this massive network secure, fast, and feature-rich, the core team, plugin developers, and theme creators release regular updates. However, clicking that tempting “Update Now” button can sometimes result in the dreaded Critical Error screen, broken layouts, or even the White Screen of Death (WSoD).
To keep your site online and operational, you must learn how to update WordPress safely. This comprehensive, step-by-step guide walks you through a bulletproof maintenance workflow—incorporating proper backups, staging environments, compatibility checks, and rollback plans.
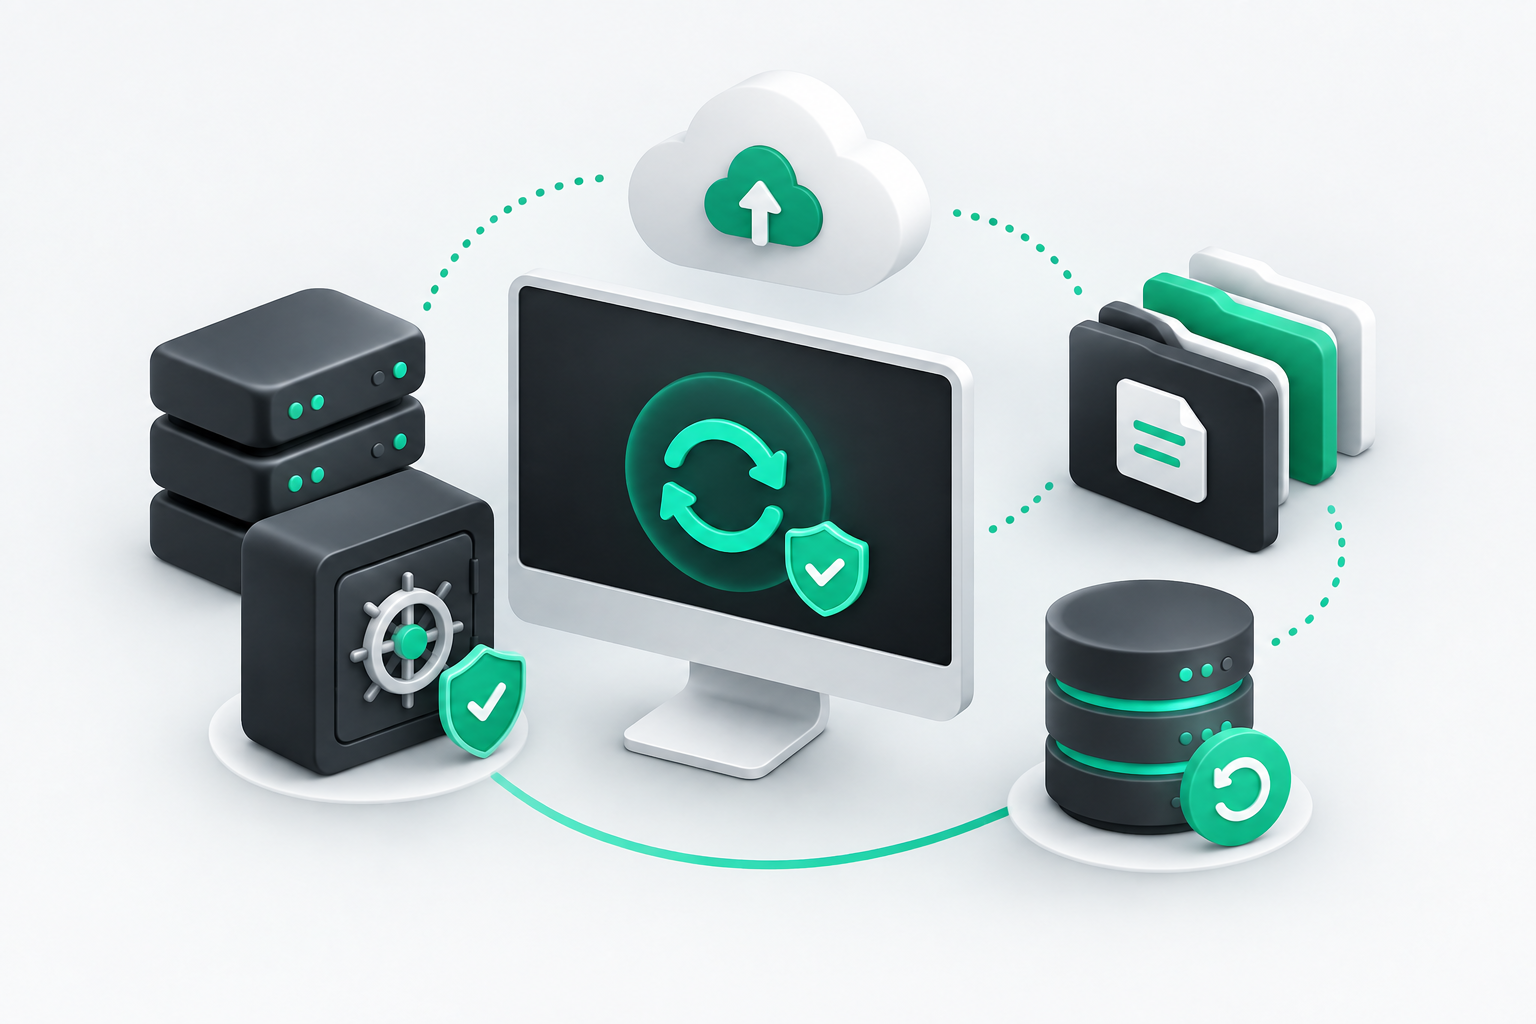
The absolute golden rule of WordPress maintenance is to perform a complete backup before update. If anything goes wrong during the update process, having an up-to-date backup ensures you can restore your site to its fully functioning state within minutes.
A complete WordPress backup consists of two distinct parts:
Never rely solely on host-level backups unless you have verified they are automated, stored off-site, and easily restorable with a single click.
If your host does not provide a robust backup system, you should use an established backup plugin. Here is a comparison of the top recommendations:
| Backup Plugin | Best For | Automated Schedules? | Offsite Storage Support |
|---|---|---|---|
| UpdraftPlus | Ease of use and cloud storage integration | Yes (Daily, Weekly, Monthly) | Dropbox, Google Drive, Amazon S3, etc. |
| Duplicator | Manual backups and site migrations | Yes (Pro version only) | FTP, OneDrive, Google Drive |
| BlogVault | Real-time backups for WooCommerce sites | Yes (Continuous/Real-time) | Independent secure cloud storage |
Never test updates on a live production website. A staging site is an exact clone of your live website hosted on a private, hidden URL. It allows you to run updates, experiment with new plugins, and write code in a safe environment without affecting your real visitors.
There are three main ways to create a staging environment:
Pro Tip: When testing updates on a staging site, make sure to test your critical user paths, such as submitting a contact form, adding an item to the shopping cart, and checking out.
Most WordPress sites break because of conflicts between updated core files and outdated plugins or themes. To prevent this, you should conduct a rigorous plugin compatibility check before deploying updates.
Before updating a key plugin (such as WooCommerce or your page builder), visit its page in the WordPress Plugin Directory. Check the following details:
Modern versions of WordPress and its plugins require updated PHP (the programming language that powers WordPress). If your server is running an obsolete PHP version (like PHP 7.4), updating your plugins to their latest versions may trigger a fatal syntax error. Always aim to run at least PHP 8.1 or 8.2, and verify compatibility in your WordPress dashboard under Tools > Site Health.
When you have completed your staging tests and verified compatibility, you can proceed to update your live site. However, the order in which you update components matters greatly for maintaining stability. Use the following structured sequence:
Even with the most careful planning, updates can occasionally fail. If your site breaks, don’t panic. You have several immediate paths to recovery.
If a specific plugin update breaks your site but you still have dashboard access, you can perform a rollback. The free plugin WP Rollback is excellent for this. It adds a “Rollback” link to your installed plugins page, letting you easily downgrade any plugin or theme to a previous stable version with a single click.
If you lose dashboard access completely and encounter the “White Screen of Death” or a persistent “Critical Error” message, you should restore your pre-update backup. Navigate to your web hosting dashboard or access your backup utility (via FTP or your hosting control panel) and run a full restore of both the files and database to bring your site back online instantly.
Updating WordPress does not have to be a stressful gamble. By implementing a standardized maintenance workflow—creating a full backup before update, testing in a staging environment, performing a plugin compatibility check, and knowing how to utilize rollback methods—you can keep your site fast, secure, and fully operational with zero downtime.
Make these steps a regular habit, or set a recurring monthly task to run updates systematically. Your visitors, your SEO rankings, and your peace of mind will thank you!